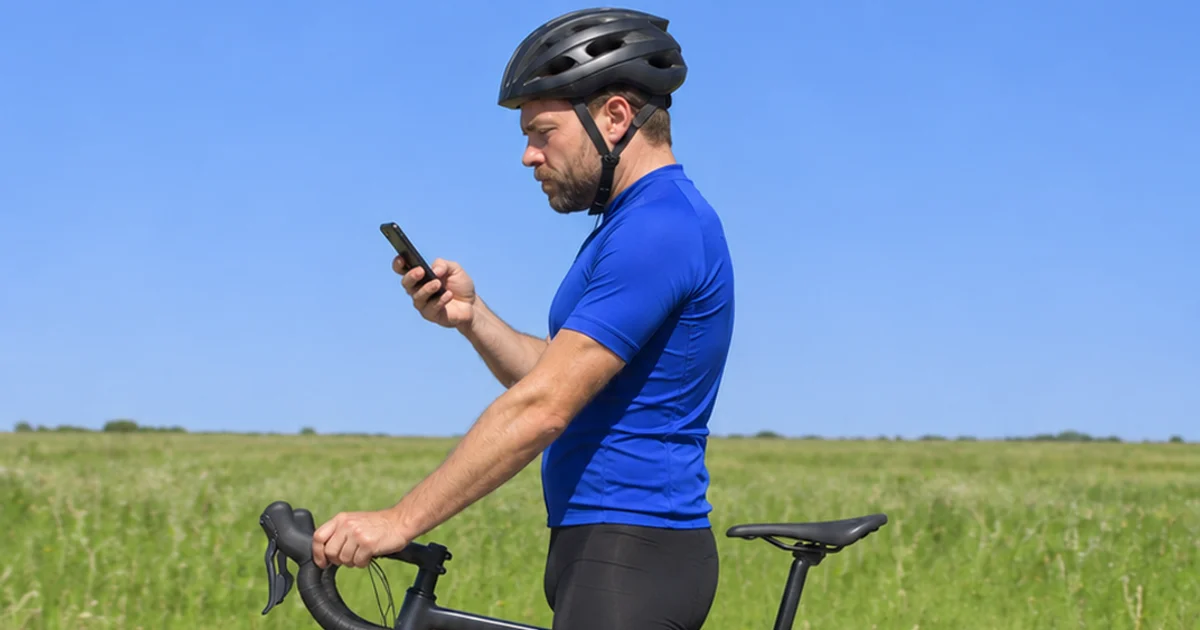
To film a bike fit video, put your bike on a trainer, set your phone at bottom-bracket height, square to the bike and 2.5–3 m away, and record 15–30 seconds from the side while you pedal steadily at 80–95 rpm. Use the main camera at 1x, not the wide lens, and keep your whole body and the whole bike in frame.
Once the clip is filmed, check your bike fit with a phone video to read the angles.
The setup card
- Mount the bike on a trainer and make sure it sits level, so the frame isn't tilted in the picture.
- Wear fitted clothing.
- Use the main camera at 1x, not the wide lens or 0.5x. Any phone works.
- Put the phone at bottom-bracket height: the crank axle, about 27 cm off the floor, roughly mid-shin. A small tripod, a stack of books or a chair works.
- Stand it square to the side of the bike, not from the front quarter or from behind.
- Step back 2.5–3 m so the whole rider and the whole bike fit in the frame, from wheel to wheel and from shoe to head.
- Optional: stick matte markers of one bright colour, 15–20 mm across, on your shoulder, elbow, wrist, hip, knee, ankle and the outside of your shoe.
- Warm up for a few easy minutes so you settle into your normal position.
- Record 15–30 seconds at a steady 80–95 rpm. At 90 rpm, 15 seconds is more than 20 full pedal strokes.
Why each rule is there
Pedal, don't pose. Static poses lie at the bottom of the stroke. When 30 cyclists were photographed holding the crank at 6 o'clock and then filmed while pedalling, the static knee angle came out about 8° smaller than the dynamic one, with an 8° gap at the ankle and 5° at the hip1. Another study found the same pattern: the dynamic measures differed substantially from the static one2. Dynamic studies have treated 30–40° of knee flexion at the bottom of the stroke as the target zone3, so an 8° error can move you from one end of that range to the other.
Plain 2D video is enough when shot right. In a lab comparison against a 13-camera 3D system, a single side-on camera was a valid tool for knee angle at the bottom of the stroke, with good reliability between trials. It read slightly low compared with 3D, so careful setup matters2. A review of 30 studies on 2D video gait analysis found reliability ranging from poor to excellent, and pointed to camera position, resolution and frame rate as part of the reason4. For what a camera can and cannot see compared with a studio fit, read bike fit at home and what a camera can see.
Square to the bike: perspective. A camera only sees a flat picture. When you film from an angle, parts of your leg that point toward the lens look shorter than they are, and the angles between them change. Filming square to the bike keeps your legs and arms moving across the picture instead of toward it.
Bottom-bracket height: the vertical version of the same problem. Shoot from standing height and you look down on the rider. Your thigh and shin no longer lie flat to the lens, so the knee angle bends. A phone at crank-axle height stays level with the legs, which is where the angle that sets your saddle height lives.
Main lens, 2.5–3 m back: lens distortion. Wide lenses bend straight lines, most strongly near the edges of the frame, where your shoulder, wrist and front wheel tend to sit. They also force you to stand close, which exaggerates whatever is nearest the phone. The main lens from a few metres back gives a flatter, more even picture of the whole body.
Whole rider in frame. If your head is cropped, the back angle has no top end. If your foot drops out at the bottom of the stroke, so does the knee measurement that matters most.
Steady 80–95 rpm. How you pedal changes how your joints share the work. In one lab study with non-cyclists, raising cadence from 40 to 70 rpm increased the ankle's share of the work5. A steady, normal cadence makes each stroke in the clip look like the next, and like the way you ride outside.
Fitted clothes and matte markers. Baggy shorts and a loose jacket hide your hip, knee and elbow. Tight kit shows where your joints are, and matte stickers avoid the glare that blurs a shiny marker.
Pay attention to light. A bright window behind you turns you into a silhouette. Light from the side of the camera or overhead keeps your joints and any markers clearly visible.
Troubleshooting a bad clip
| Symptom in the clip | Likely cause | Fix |
|---|---|---|
| Body bends near the frame edges | Wide lens (0.5x) | Switch to the main 1x camera |
| You see the underside of the thigh; knee angle reads wrong | Phone on the floor, tilted up | Raise it to bottom-bracket height |
| Limbs look shorter than they are | Filming from a front or rear angle | Stand the phone square to the side of the bike |
| Head, wheels or feet cut off | Standing too close | Move back to 2.5–3 m |
| Each stroke looks different | Coasting or surging | Hold 80–95 rpm at steady effort |
| Crank parked at 6 o'clock, no pedalling | Static pose held instead of riding | Film while you pedal1 |
| Joints hidden under fabric | Baggy clothes | Wear fitted kit |
| Glare blurs the marker point | Shiny markers | Use matte stickers |
| You show up as a silhouette | Bright window behind you | Light from the side of the camera or overhead |
Send the clip to the video check
TrainCraft's video check works from the clip described above. A clip that follows the setup card gives it clean joint points. It reads your knee, back and elbow angles, compares them with the typical range for the bike, size and riding style you pick, and tells you which part to move, saddle or bar, and in which direction.
The knee angle at the bottom of the pedal stroke tells you whether your saddle is too high or too low. That is the only job saddle height does. Back and elbow angles point to the cockpit: if you feel stretched out, your back is too flat for comfort, or your neck aches, change stem length, bar height, spacers or bar reach. Moving the saddle to fix your reach just breaks your leg position. If the frame itself is the wrong size, the bike fit calculator recommends one. Move one thing a few millimetres, ride a few times, then film again. Two changes at once and you won't know which one helped.
Your video never leaves your phone; only joint coordinates are sent.
The first check is free and reads the clip you just filmed. The paid fit report gives millimetres for your bike and unlimited re-checks, so you can refilm after every change.
Pain, injury or numbness is a job for a professional, not a clip.
Send your clip to the video check
FAQ
Can I film a bike fit video with any phone?
Yes. Any phone works. Use the main camera at 1x rather than the wide lens, and set it at bottom-bracket height, square to the bike and 2.5–3 m away.
Can I film on the road instead of a trainer?
A trainer is the better choice. It keeps you in one spot, at a fixed distance and angle from the camera, for the whole clip. On the road the distance and viewing angle change every second, which brings back the perspective errors this setup is meant to remove.
Do I need the stickers?
No, they're optional. Matte stickers of one bright colour, 15–20 mm across, on the shoulder, elbow, wrist, hip, knee, ankle and outside of the shoe make the angles more precise. They help most when your clothing hides the joints.
My knee hurts when I ride. Will a video fix it?
A video can show whether your saddle height or reach looks off, but it can't diagnose pain. Pain, injury, numbness or marked asymmetry should be assessed by a qualified bike fitter or medical professional. Get that checked before you start moving parts around.
Last reviewed: November 2026. Written by the TrainCraft team.
Footnotes
-
Bini, R. R., & Hume, P. A. (2016). A comparison of static and dynamic measures of lower limb joint angles in cycling: application to bicycle fitting. Human Movement, 17(1), 36-42. https://doi.org/10.1515/humo-2016-0005 ↩ ↩2
-
Fonda, B., et al. (2014). Validity and reliability of different kinematics methods used for bike fitting. Journal of Sports Sciences, 32(10), 940-946. https://doi.org/10.1080/02640414.2013.868919 ↩ ↩2
-
Ferrer-Roca, V., et al. (2012). Influence of saddle height on lower limb kinematics in well-trained cyclists: static vs. dynamic evaluation in bike fitting. Journal of Strength and Conditioning Research, 26(11), 3025-3029. https://doi.org/10.1519/JSC.0b013e318245c09d ↩
-
Michelini, A., et al. (2020). Two-dimensional video gait analysis: A systematic review of reliability, validity, and best practice considerations. Prosthetics and Orthotics International, 44(4), 245-262. https://doi.org/10.1177/0309364620921290 ↩
-
Bini, R. R., et al. (2010). Effects of saddle height, pedaling cadence, and workload on joint kinetics and kinematics during cycling. Journal of Sport Rehabilitation, 19(3), 301-314. https://doi.org/10.1123/jsr.19.3.301 ↩