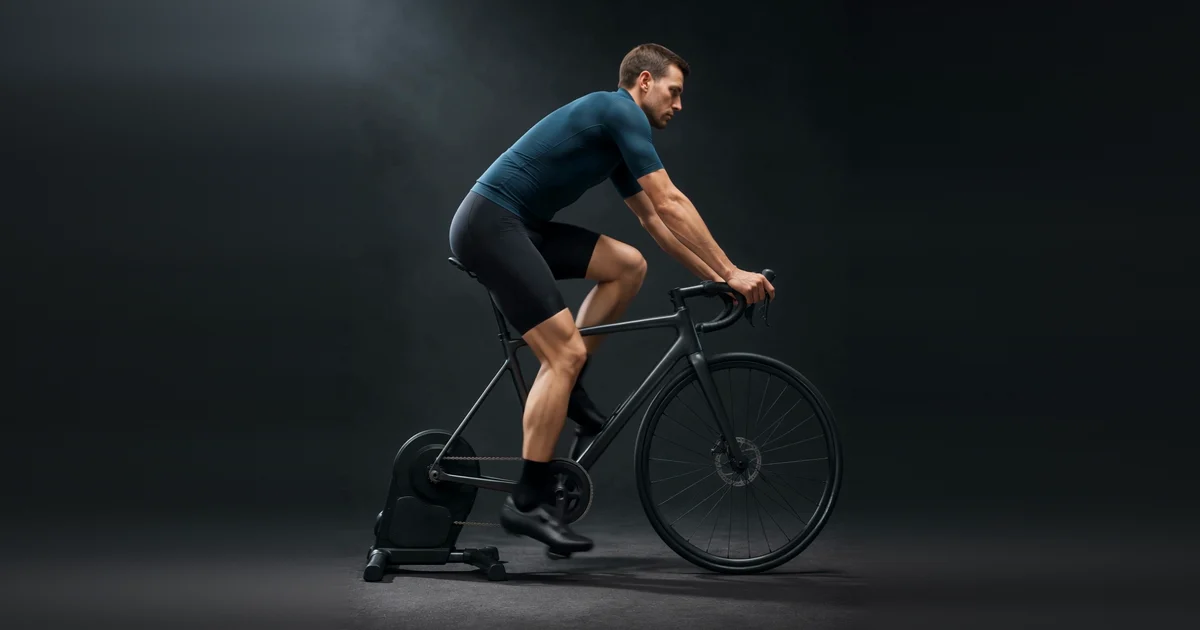
Yes, you can do a useful bike fit at home: a side-on video of you pedalling on a trainer shows your knee, back and elbow angles well enough to set saddle height and get the cockpit close. It can't see your feet and cleats, your knees moving side to side, the pressure on your saddle, or your injury history, and that is where a studio fit earns its money.
What each one can see
A single side-on video is strong in one plane and blind in the others.
| Home video | Good studio fit | |
|---|---|---|
| Knee, back and elbow angles while pedalling | Yes: saddle height and cockpit direction | Yes |
| 3D motion capture (knees and hips from several angles, including side-to-side movement) | No: a side view only sees forward and back | Yes |
| Saddle pressure mapping (where you sit, how the load shifts) | No | Yes |
| Foot and cleat work (cleat position, rotation, stance width, wedges, insoles) | No | Yes |
| Injury and history interview | No | Yes |
| Physical assessment (hamstring and hip flexibility, leg length, asymmetry) | No | Yes |
Where a phone camera is good enough
A camera filming from the side sees the plane where most pedalling happens: the knee bends and straightens, the hip opens and closes, the torso leans forward, the elbow bends. The measurement that decides saddle height lives there. Saddle height is set by your legs: how much your knee is still bent at the bottom of the pedal stroke. A wrong height is one of the causes covered in knee pain when cycling and saddle height.
A study comparing 3D motion capture, 2D high-speed video and an electrogoniometer found 2D video valid for measuring the knee angle in bike fitting. It read slightly low against 3D, by about 2.2 degrees, and all the dynamic methods had good reliability within a session1. Back and elbow angles come from the same side view and show whether you are stretched out, cramped, or about right for your style of riding. We cover three fit problems you can spot in seconds on Instagram.
Film yourself pedalling, not holding a pose. When researchers measured 30 cyclists both ways, static and dynamic angles at the bottom of the stroke differed by about 8 degrees at the knee and ankle and about 5 degrees at the hip2. Only with the crank at 3 o'clock did the two methods agree to within 1.4 degrees2. A second study found all three dynamic methods substantially different from the static measure1. That gap is enough to change a saddle height recommendation, and it explains why online target ranges disagree: an older review suggested 25 to 30 degrees of knee bend at the bottom of the stroke3, while a later review that leaned on dynamic measurements put it at 33 to 43 degrees at low intensity and 30 to 40 degrees at high intensity4. How to check your bike fit with a phone video walks through the measurement.
Where it falls short
Knee tracking is the big gap. If your knee drifts in or out over the top of the stroke, a side view won't show it. The cause can sit in your foot, cleat or insole, and finding it takes a fitter's eyes and hands.
Effort changes the picture too. The review that gave the dynamic knee ranges noted that riders move differently at higher power outputs, with compensations showing up in the legs4. A home video at a steady, easy cadence shows your everyday position, not how you fall apart in the last kilometre of a race.
Even riders with team staff and good bikes get sore, so recurring pain is a reason to get assessed, not to keep adjusting at home.
A home check doesn't replace an in-person bike fitter. Pain, injury, numbness or a marked difference between your left and right side should be assessed by a qualified professional, such as a bike fitter, physiotherapist or sports doctor.
Book a studio fit if...
- You have pain in your knees, hips, back, neck or hands that keeps coming back.
- You feel numbness in your hands, feet or saddle area.
- You have had an injury or surgery that changed how you move.
- One leg, hip or shoulder behaves clearly differently from the other.
- You suspect your cleats, shoes or insoles are part of the problem.
- You race or ride long events where a few hours at high effort expose small errors.
If none of those apply and you want to know whether your position is in a sensible range, start at home.
Start at home
Fix the saddle with your legs and the reach with the cockpit. Saddle height follows the knee angle at the bottom of the stroke. If you feel too stretched, your back is too flat for comfort or your neck aches, don't move the saddle up, down, forward or back to compensate. Change the stem length, bar height, spacers or bar reach instead. Move one thing by a few millimetres at a time and ride a few times before you judge it. If you change the saddle and the stem on the same day, you won't know which one helped.
The TrainCraft video check covers the part of a fit that a camera does well: the side-view angles of your knee, back and elbow while you pedal. It compares them with the typical range for the bike, size and riding style you pick and says which part to move, saddle or bar, and in which direction. The clip takes 15 to 30 seconds on a trainer, and how to film your bike fit video has the setup. Your video never leaves your phone; only joint coordinates are sent.
The first check is free, which makes it a cheap way to find out whether you need a studio at all. The paid fit report adds millimetres for your bike and unlimited re-checks. To pick a frame size, the bike fit calculator holds 200+ road, gravel and XC models, and its recommendation is free.
FAQ
Is a bike fit at home as good as a professional fit?
A side-on video of you pedalling covers saddle height and the direction of cockpit changes. A professional fit adds what a single camera can't see: cleats, knee tracking, saddle pressure and your injury history. If you have no pain, start at home; if you do, book the fitter.
Can I set my saddle height from a photo?
A photo of you holding the crank at the bottom isn't the same as riding. Static and dynamic knee angles at the bottom of the stroke can differ by around 8 degrees2, which is enough to put your saddle in the wrong place. Film yourself pedalling instead.
How often should I recheck my position?
Recheck after any change to your bike, shoes or saddle, and after a few rides on a new setting. Make one small change at a time, so each check tells you whether that change worked.
Last reviewed: November 2026. Written by the TrainCraft team.
Footnotes
-
Fonda, B., Sarabon, N., & Li, F.-X. (2014). Validity and reliability of different kinematics methods used for bike fitting. Journal of Sports Sciences, 32(10), 940-946. https://doi.org/10.1080/02640414.2013.868919 ↩ ↩2
-
Bini, R. R., & Hume, P. A. (2016). A comparison of static and dynamic measures of lower limb joint angles in cycling: application to bicycle fitting. Human Movement, 17(1), 36-42. https://doi.org/10.1515/humo-2016-0005 ↩ ↩2 ↩3
-
Bini, R., Hume, P. A., & Croft, J. L. (2011). Effects of bicycle saddle height on knee injury risk and cycling performance. Sports Medicine, 41(6), 463-476. https://doi.org/10.2165/11588740-000000000-00000 ↩
-
Swart, J., & Holliday, W. (2019). Cycling biomechanics optimization: the (r)evolution of bicycle fitting. Current Sports Medicine Reports, 18(12), 490-496. https://doi.org/10.1249/JSR.0000000000000665 ↩ ↩2