3D print model
Turn the terrain around your route into a 3D-printable model
Upload a GPX, FIT or TCX file or pick one of your activities, frame the mountains around it, set the relief and size, and download STL and 3MF files.
Open a GPX or FIT file
Upload a GPX, FIT or TCX file or pick an activity from your profile.
Drop a GPX, FIT or TCX file here
Your activity as a terrain model
Studio renders of a real ride, Val di Sole in Trentino: 87 km and 2,499 m of climbing on a 256 mm model.
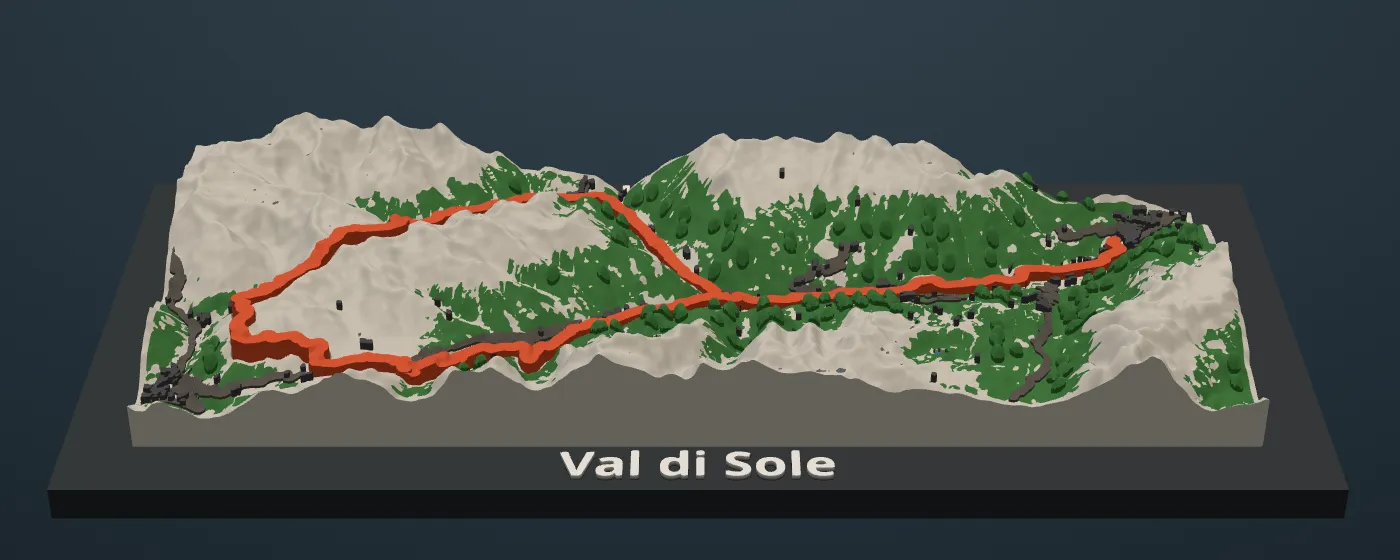
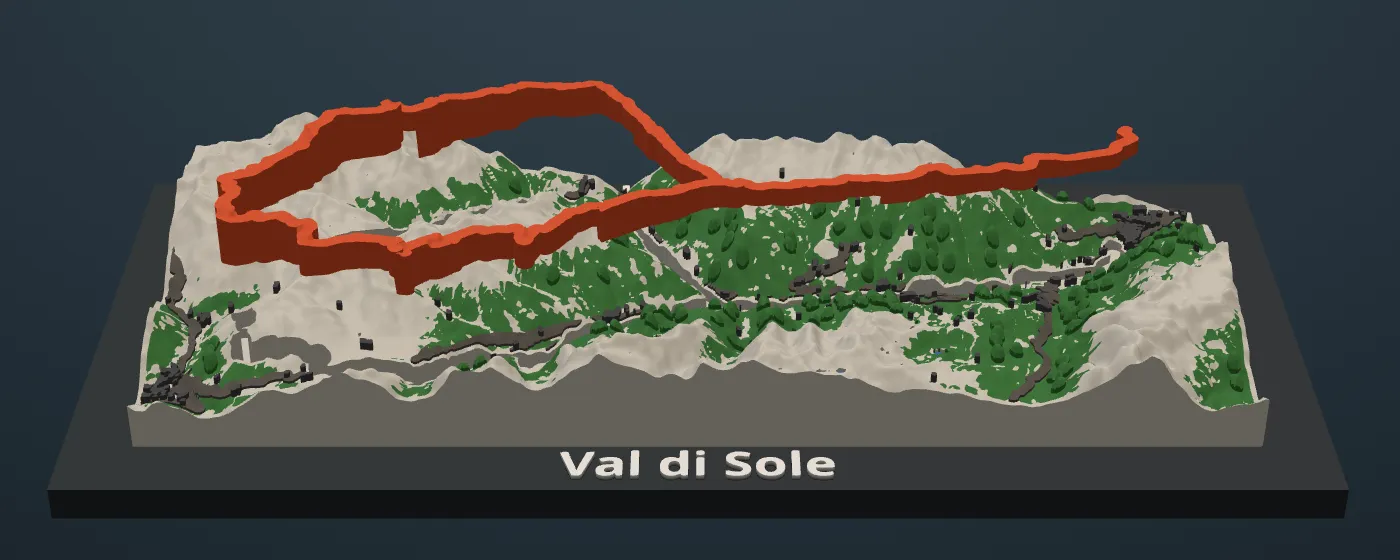
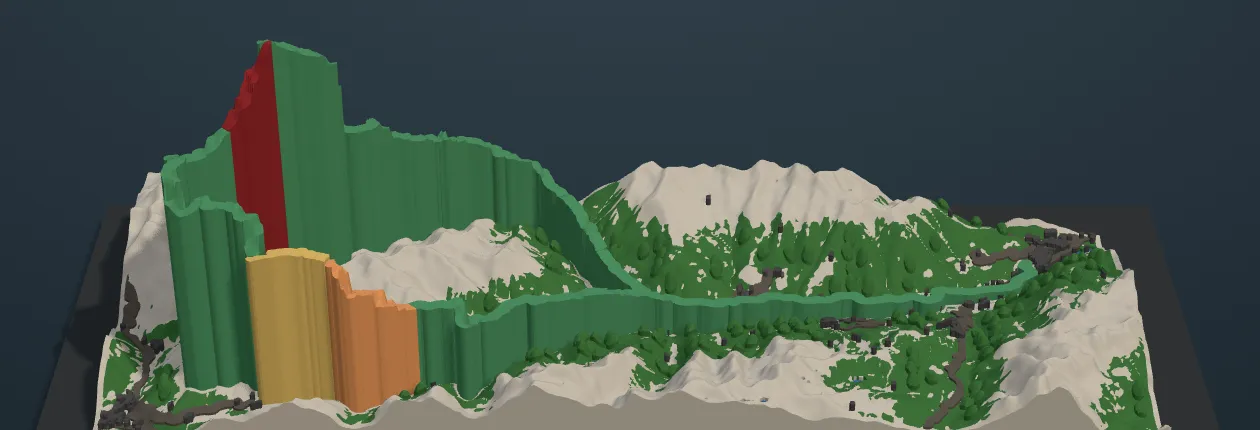
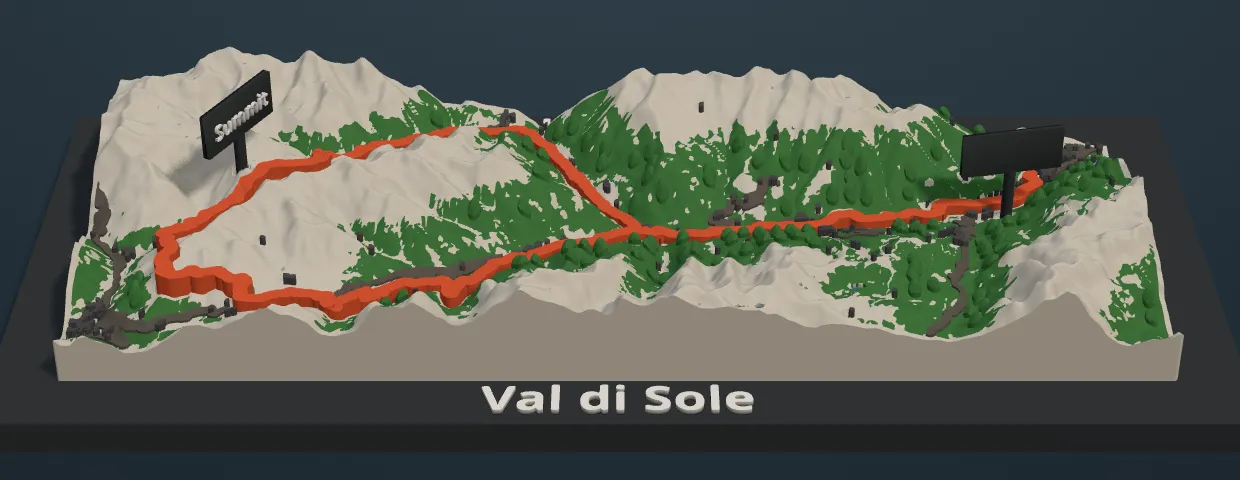
Images are renders from the TrainCraft studio, not photos of prints.
Print-ready, not just an STL
Most converters hand you a mesh to fix in the slicer. TrainCraft hands you a project you can start printing. The points below describe the full model.
Opens as a ready project
The 3MF opens in Bambu Studio as a project with a Bambu Lab printer, a 0.4 mm nozzle, 0.20 mm layers and PLA already set. Open it, check the colours, print.
A filament on every part
Terrain, route inserts, frame and lettering each carry their own colour, and the colour change for the title is already in the file.
Plates sorted by colour
Parts are laid out on plates by colour, so a printer without AMS prints plate by plate. With AMS the prime tower is already placed.
No supports to clean off
Terrain and inserts print flat side down without supports. Only the flags need them, and they are switched on for you.
Tolerances for real printers
Slots, inserts and flag sockets leave 0.3 mm per side, because FDM plastic is never exact. Change it in the studio if your printer runs tight.
Numbered pieces
Route inserts and map pieces carry numbers, and the instructions PDF shows where each one goes.
More than a relief
A climb profile coloured by gradient, flags with your own words, forest, water, roads and buildings, and a sheet with the numbers of the ride.
Your saved activities
Signed in, pick any activity saved in your TrainCraft account, including rides synced from Strava, instead of exporting a file.
Shapes, frames and a sheet to go with it
Pick what suits the shelf or the wall. Every option below is a setting in the studio.
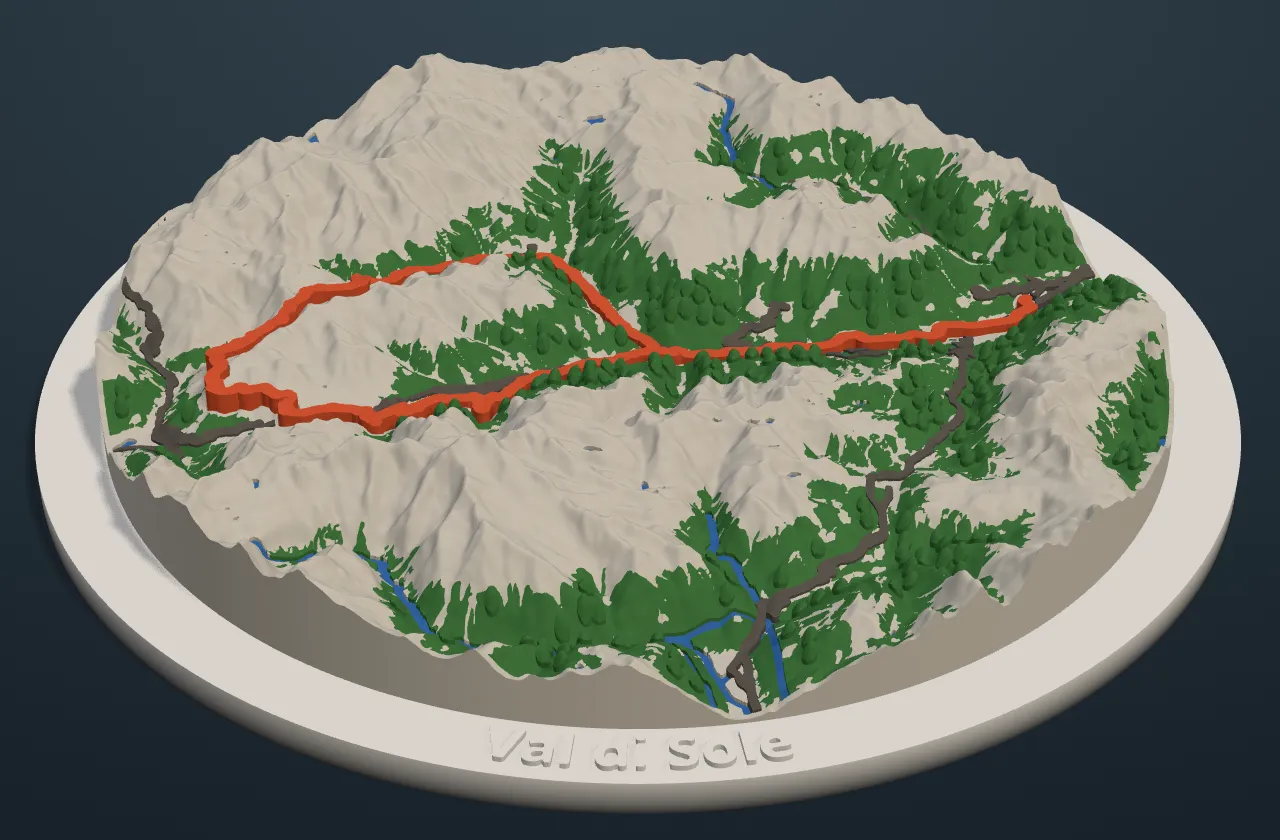
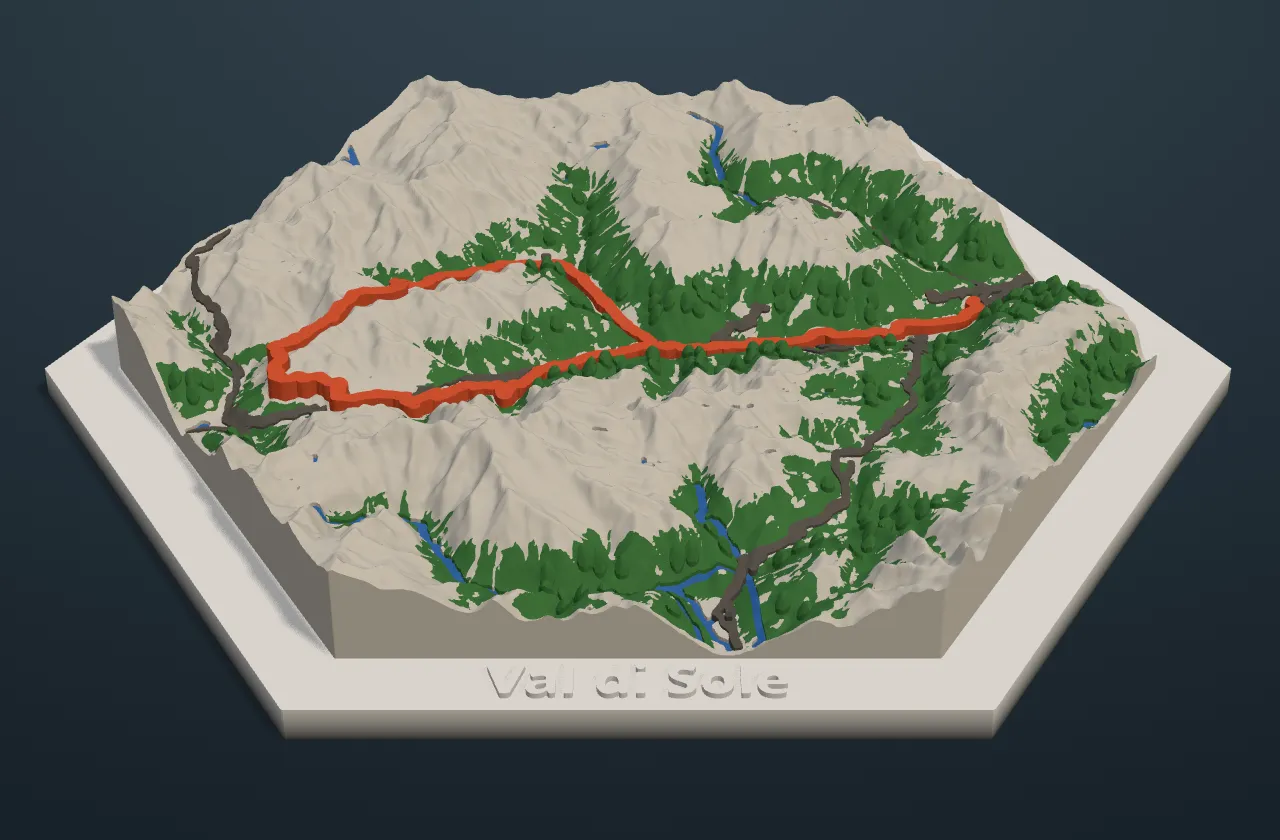
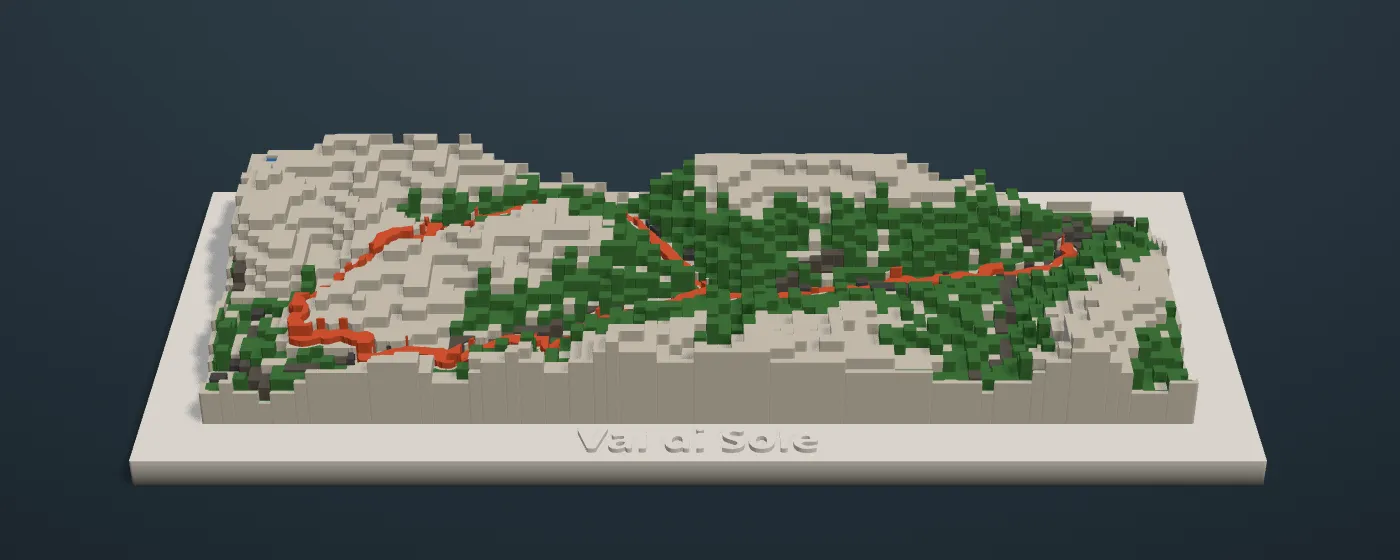
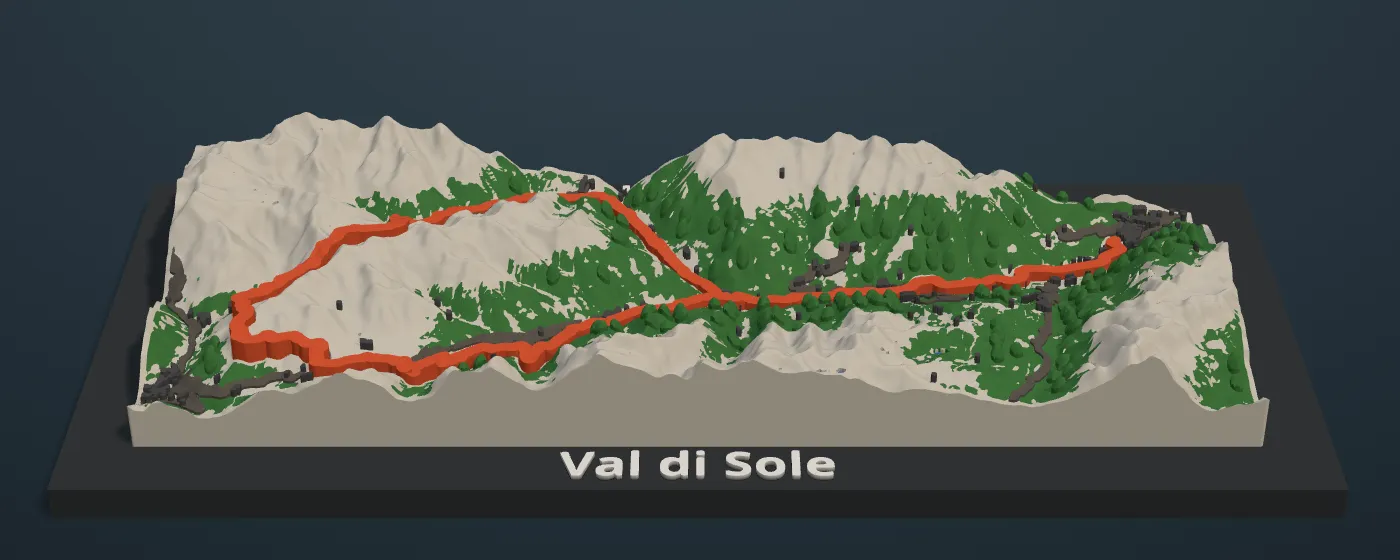
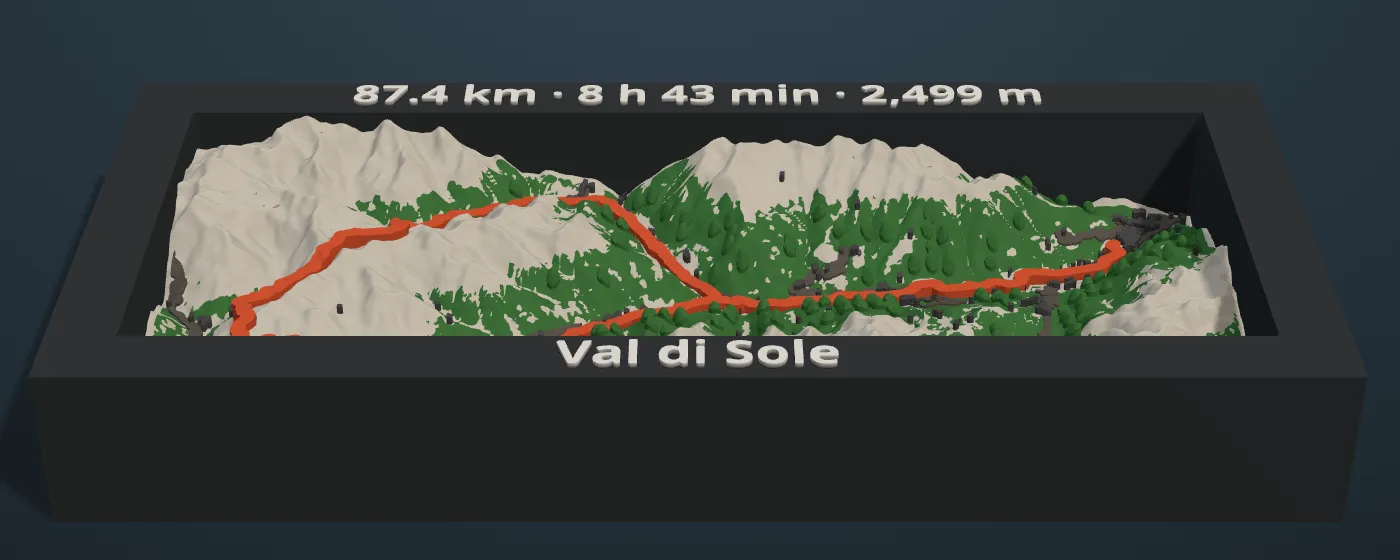
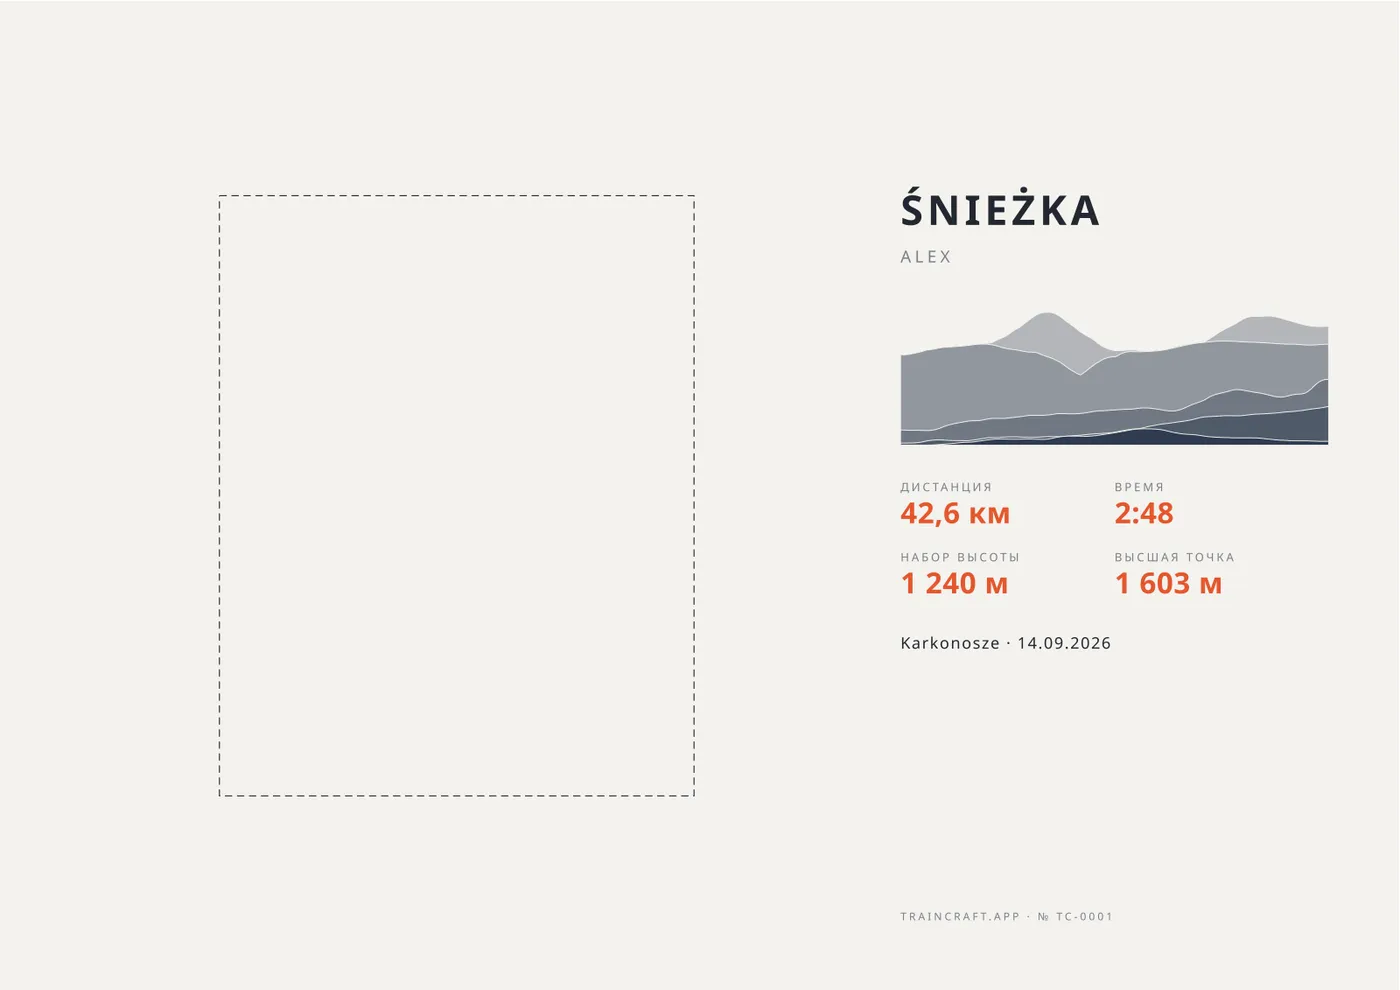
Example: Val di Sole, 87 km by bike
The full model from the renders above, built from one FIT file.
- Distance
- 87.4 km
- Climbing
- 2,499 m
- Model size
- 256 × 114 mm
- Parts
- 22
- Plates in Bambu Studio
- 6
- Terrain plate
- 8.2 h + filament changes
Times are Bambu Studio estimates for a Bambu Lab P1S with 0.20 mm layers.
What is in the download
One ZIP. No G-code: you slice the files for your own printer.
- Model 3MFA Bambu Studio project with the official printer and PLA profiles, a filament on every part and the parts laid out on plates by colour. OrcaSlicer opens it the same way; other slicers read the parts and their colours.
- Frame 3MFThe frame with your title and the filament change for the lettering.
- STL for every partEach part as its own STL, for any slicer.
- Instructions PDFThe colour of each part, the filament-change heights and the order to fit the inserts.
- Sheet PDFThe printable sheet, when you add it.
- Inlay map PDFWhere each numbered forest, water or road piece goes, when map layers print as separate pieces.
You get digital files to print yourself. Nothing is shipped.
How to print it
Any FDM printer works. A multi-colour unit saves time but is not required.
- 1Open the 3MF in your slicer. In Bambu Studio and OrcaSlicer the filaments and plates are already set: check that your AMS slots hold the right colours.
- 2Print the terrain plate first, then the plates with the route inserts, one colour per plate.
- 3Press the inserts into the slot in number order. They fit with 0.3 mm of clearance per side, which you can change in the studio if your printer runs tight.
- 4No printer? Send the ZIP to a local print shop or an online print service: the 3MF, the STL files and the instructions are all they need.
Free and full
| Feature | Free | Full |
|---|---|---|
| Parts | One | Terrain with a slot, route inserts in segments, frame |
| Colours | One colour, one piece, no filament change | Inserts in their own colours, filament change by height, climb profile coloured by gradient |
| Route | Raised ridge on the terrain | Separate insert in its own colour |
| Tracks | One | Up to 10 per purchase, unlimited with a subscription |
| Climb profile | Raised ridge in the model colour | Wall split by gradient zones |
| Detail | Grid step 0.25 mm | Grid step 0.25 mm |
| Files | STL and 3MF, one part | 3MF with named parts and colours, ZIP of STL per part, instructions |
| Licence | Personal use only | Personal use only; commercial licence by agreement |
Price and free terms
The full model is a one-off purchase, or included with any subscription. You see the price before you pay.
The free model is one part with a raised route. No account or card is needed to preview it.
Privacy
Your track is used only to generate the model and is not stored. Generated files are kept for a limited time so you can download them.
Licence
The files and prints made from them are for personal use only. You may not sell the files or prints. A commercial licence is available by agreement.
Ask about a commercial licenceMore on 3D printing your rides
Frequently asked questions
Can I convert a GPX file to STL or 3MF?
Yes. Upload a GPX or FIT file, frame the area around the route and download the terrain model as 3MF and STL.
Do I need a multi-colour printer or AMS?
No. The route is a separate insert you print in its own colour and glue into a slot, and the frame colour comes from one filament change by height.
Can I print terrain without a track?
No. The model is built around a track: upload a GPX, FIT or TCX file or pick an activity from your profile, then frame the terrain around it.
What is free and what is in the full model?
The free model is one part in one colour with the route as a raised ridge, and keeps your frame, climb profile and detail. The full model adds the route and climb profile as coloured inserts, map layers and flags in colour, and up to 10 tracks.
How do I pay for the full model?
Buy it once for this model, or use any TrainCraft subscription.
Do you store my track?
No. The track is used only to generate the model. The generated files are kept for a limited time for download.
Can I sell the prints?
No, the files are for personal use only. Contact us if you need a commercial licence.
TrainCraft training
Prepare for a goal or an event
Read training guides by goal and preparation roadmaps for cycling events, and use free structured workouts with .zwo export. Training plans are free. Adaptive plan changes that you review and apply are part of PRO AI.